00:00: This guide provides a comprehensive walkthrough for utilizing media files, effectively 00:04: within the platform. 00:07: Access the promotional content section to begin, your creative Journey. 00:11: Find a supported slide. These will be indicated in the title. 00:16: Click add on the slide of your choice. 00:19: Using the theme drop-down. You can select a background already on the slide. 00:22: Choose one from the bud view, media library, or upload your own image 00:26: to fully customize. The look 00:30: Scroll down to the add upload images. 00:32: In this section, you will be able to select your image. 00:36: With the media library dropdown, you can choose the library that works best for you. 00:40: Bud view, media contains all the files we've uploaded for you to use. 00:44: While my media includes files that you or your company admin have uploaded specifically 00:48: for your store. 00:51: All but view media will be assigned to a category. 00:53: This will allow you to search through the media files quickly. 00:58: Select the orientation that best suits, your design. 01:02: Organize your media to easily find the latest or most relevant items. 01:07: Confirm your selections to refine the media display. 01:11: Browse through the media to find one that best suits your needs. 01:15: Click add on the media. You would like to use 01:18: Once you have found your media, continue with filling out the rest of the slide details and 01:22: click add. 01:24: Your slide will then appear on your TV with your selected background. 01:28: In this guide, you explored the various steps necessary to integrate media 01:32: files into your projects.
1. Click "Promo Library"
Access the promotional content section to begin your creative journey

2. Find a supported slide
Find a supported slide, these will be indicated in the title.

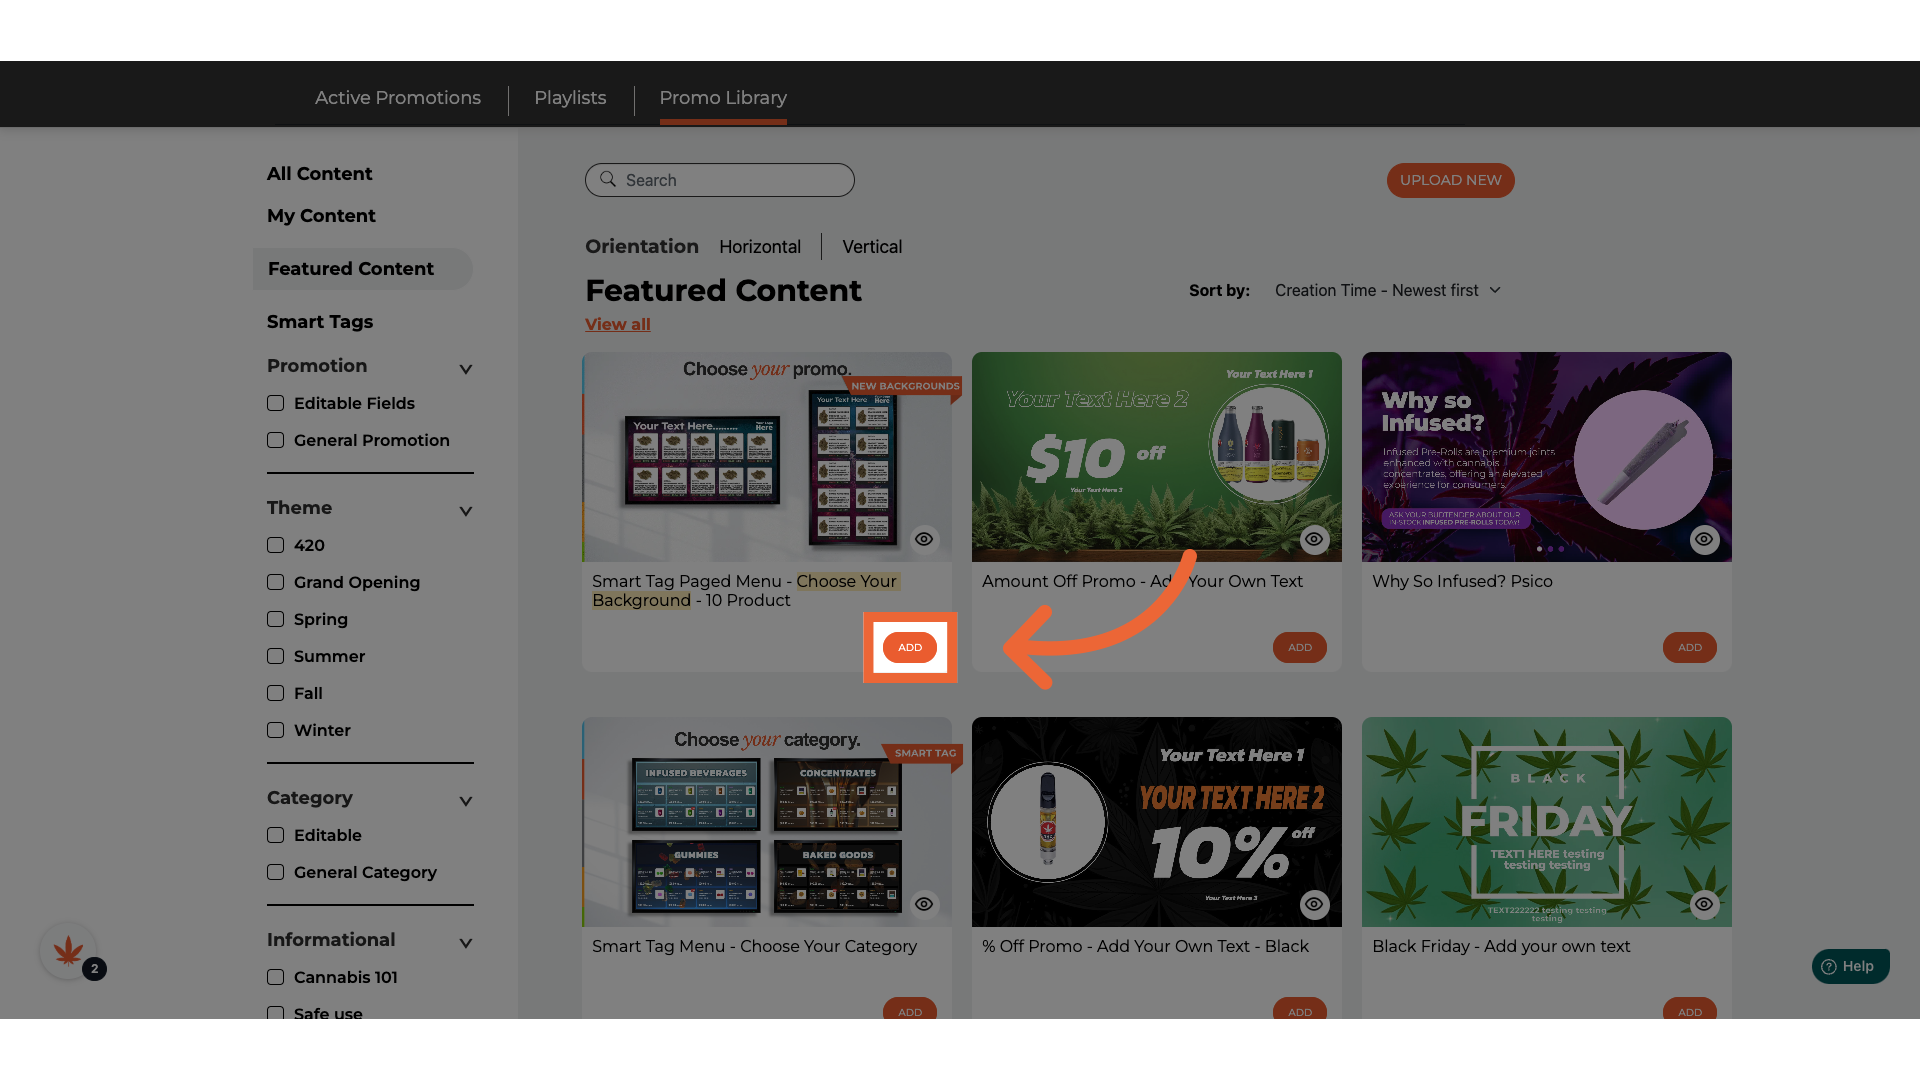
3. Click "ADD"
Click add on the slide of your choice.

4. Select the Theme that allows you to add a background.
Using the theme dropdown, you can select a background already on the slide, choose one from the Budvue Media Library, or upload your own image to fully customize the look.

5. Click "Select Image"
Scroll down to the Add/Upload Images, in this section, you will be able to select your image.

6. Select the Media Libray
With the Media Library dropdown, you can choose the library that works best for you. Budvue Media contains all the files we've uploaded for you to use, while My Media includes files that you or your company admin have uploaded specifically for your store.

7. Select the Category
All Budvue Media will be assigned to a category, this will allow you to search through the media files quickly.

8. Select the Orientation
Select the orientation that best suits your design

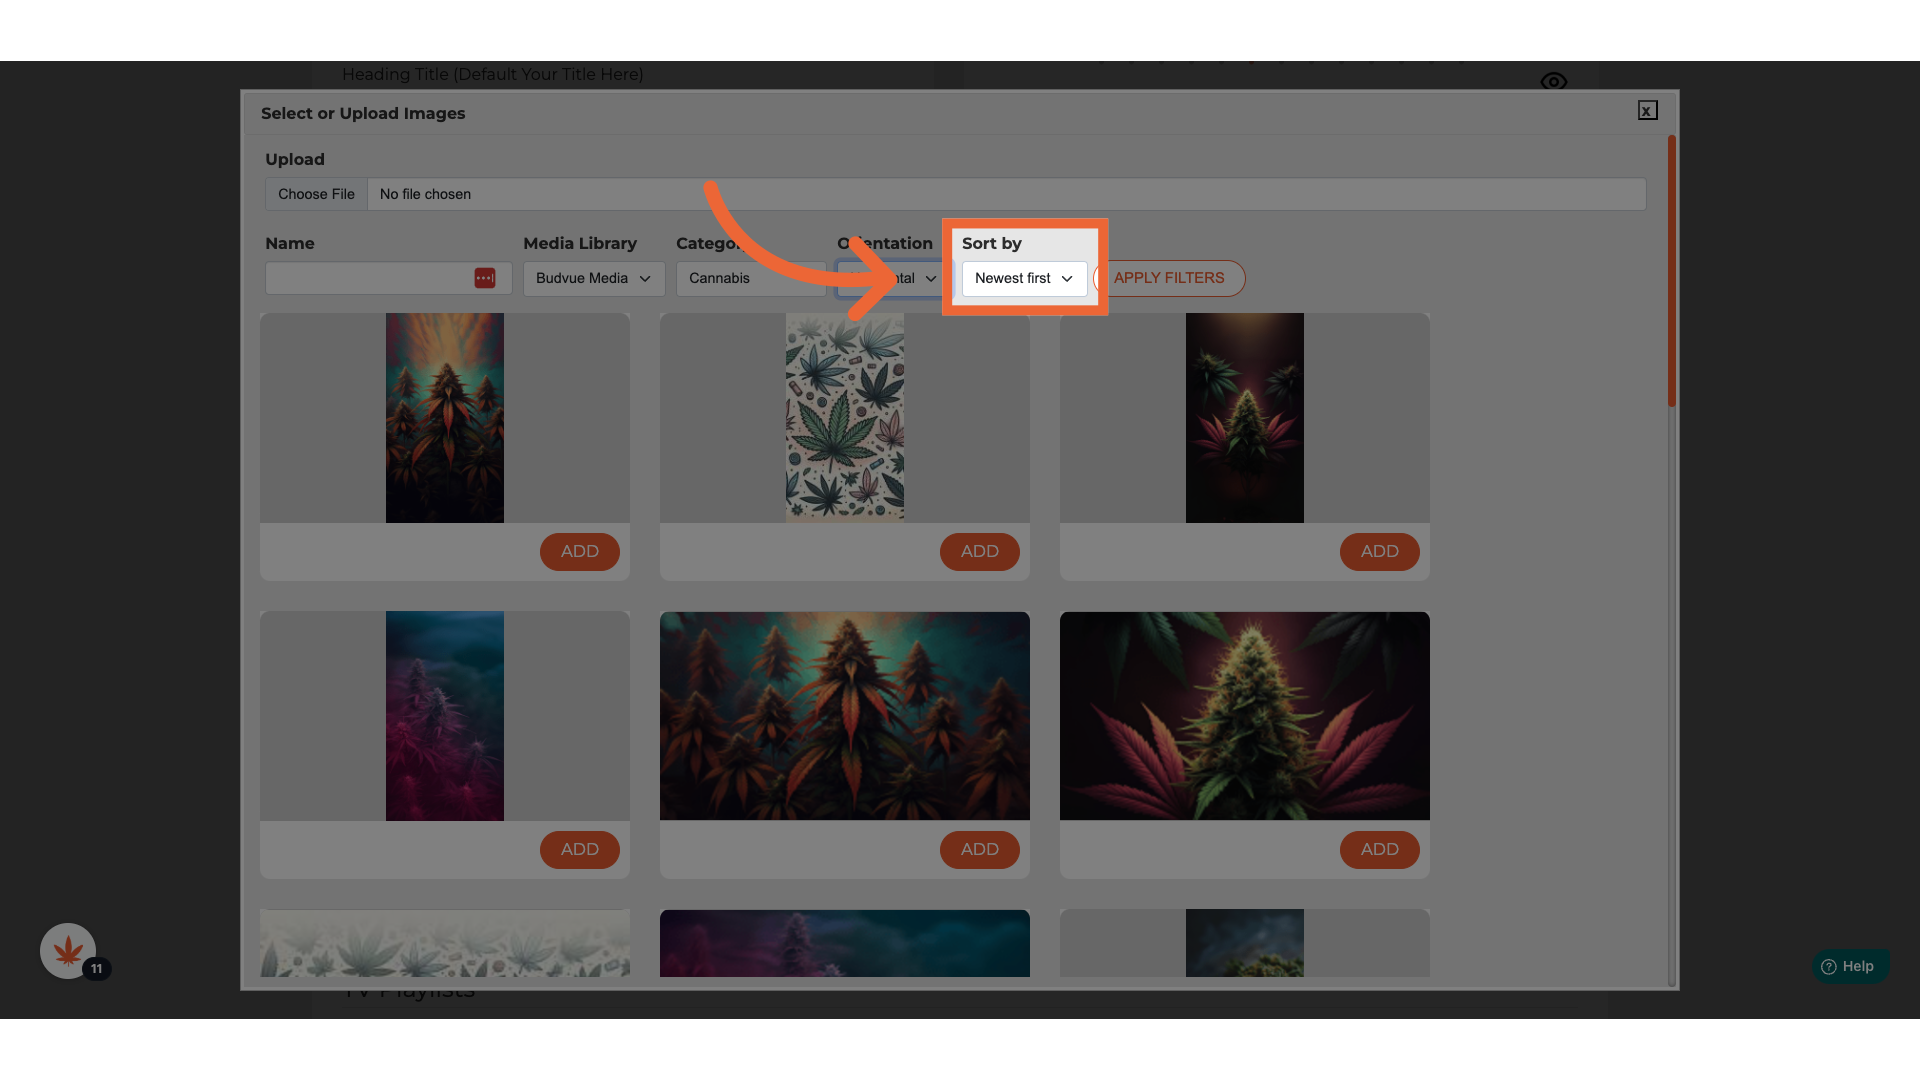
9. Select Sort By
Organize your media to easily find the latest or most relevant items

10. Click "Apply filters"
Confirm your selections to refine the media display

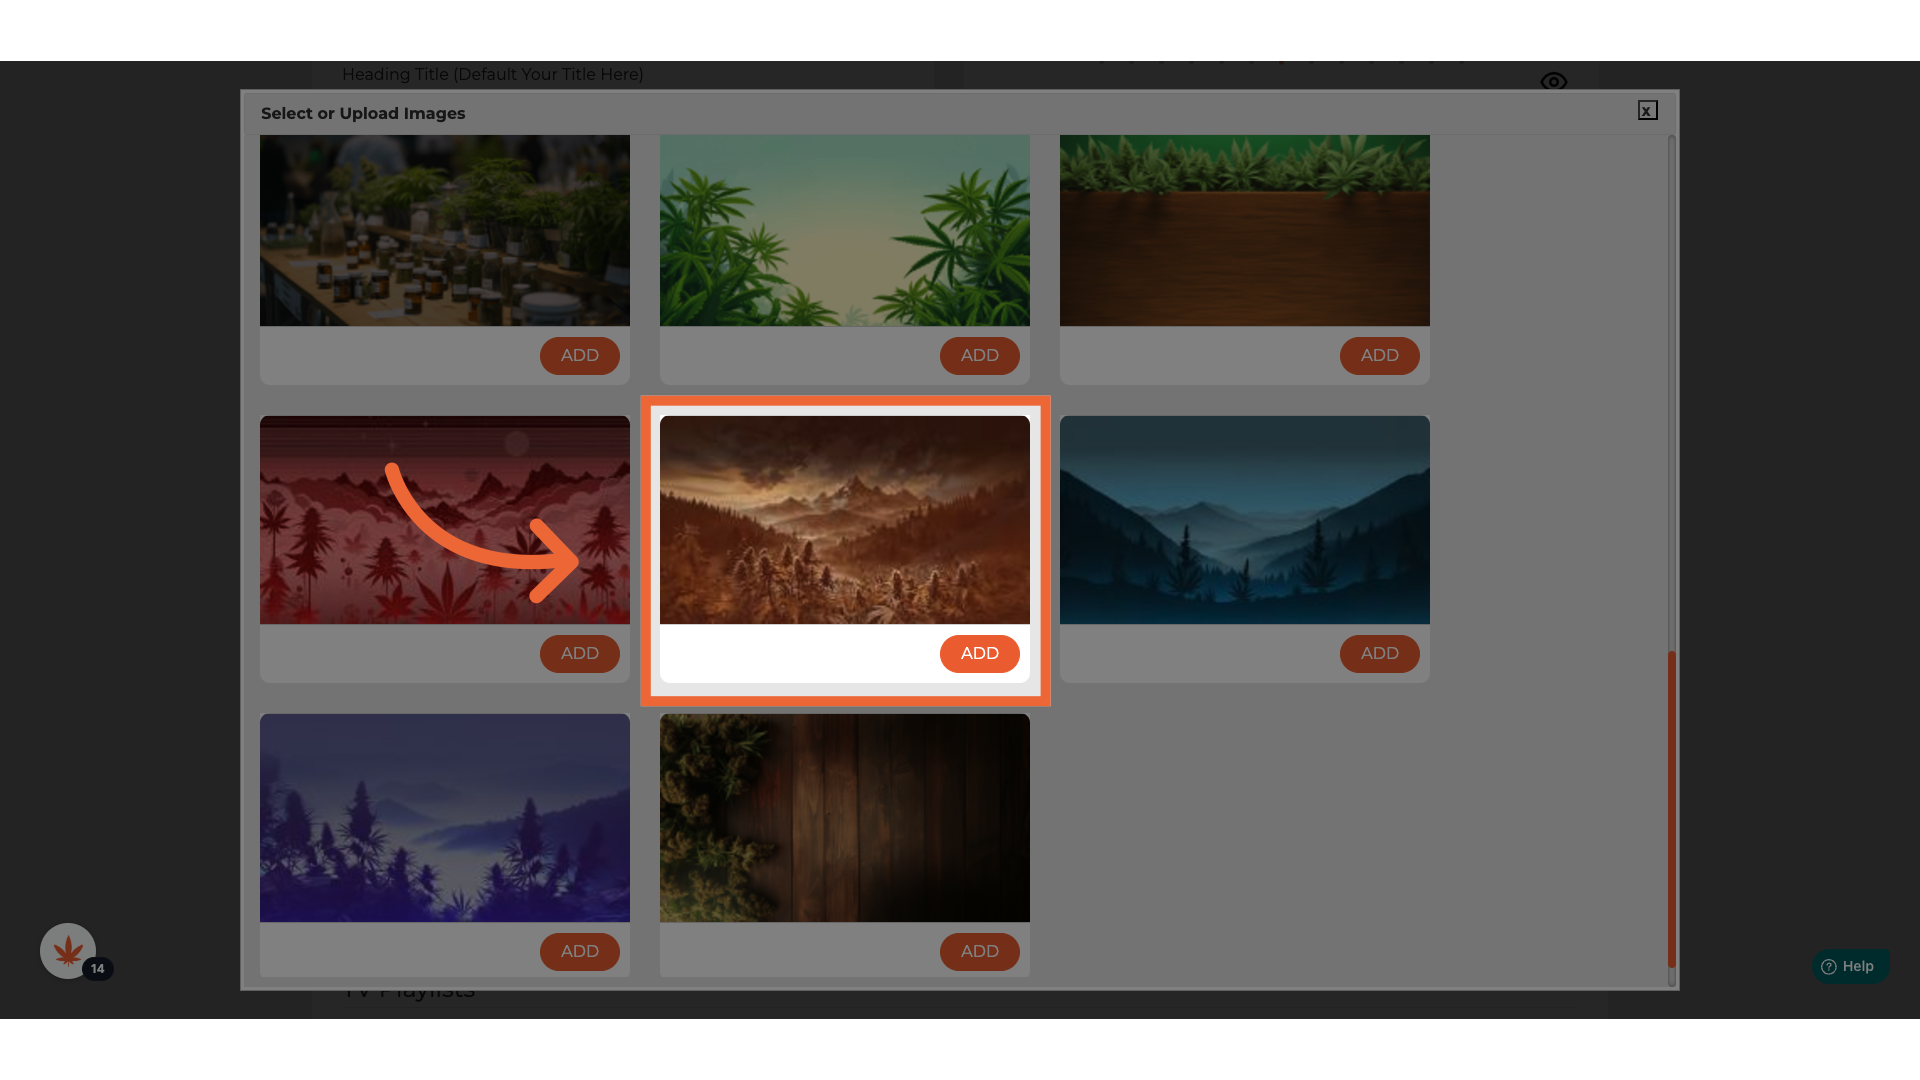
11. Browse Media
Browse through the media to find one that best suits your needs.

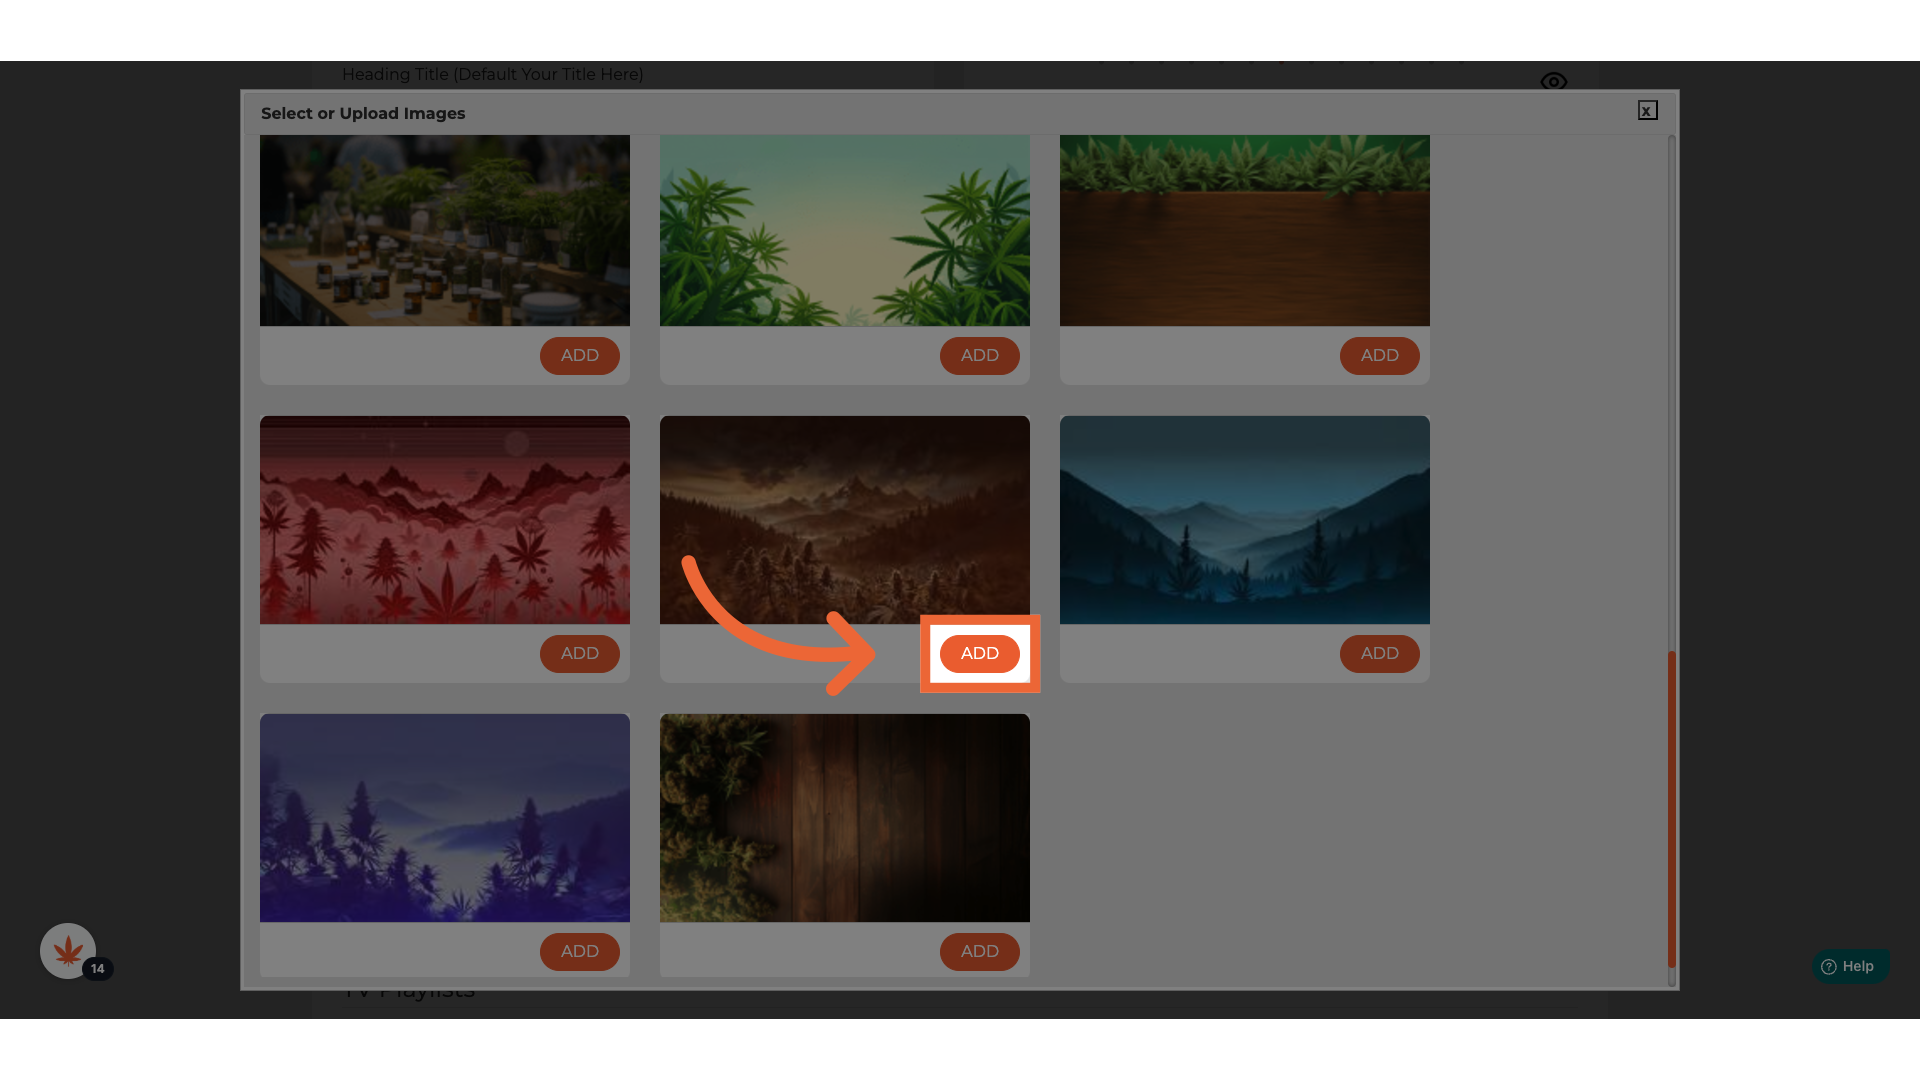
12. Click "ADD"
Click Add on the media you would like to use.

13. Click "Save"
Once you have found your media, continue with filling out the rest of the slide details and click add.

14. Click "Save"
Your slide will then appear on your TV with your selected background.

00:00: This guide provides a comprehensive walkthrough for utilizing media files, effectively 00:04: within the platform. 00:07: Access the promotional content section to begin, your creative Journey. 00:11: Find a supported slide. These will be indicated in the title. 00:16: Click add on the slide of your choice. 00:19: Using the theme drop-down. You can select a background already on the slide. 00:22: Choose one from the bud view, media library, or upload your own image 00:26: to fully customize. The look 00:30: Scroll down to the add upload images. 00:32: In this section, you will be able to select your image. 00:36: With the media library dropdown, you can choose the library that works best for you. 00:40: Bud view, media contains all the files we've uploaded for you to use. 00:44: While my media includes files that you or your company admin have uploaded specifically 00:48: for your store. 00:51: All but view media will be assigned to a category. 00:53: This will allow you to search through the media files quickly. 00:58: Select the orientation that best suits, your design. 01:02: Organize your media to easily find the latest or most relevant items. 01:07: Confirm your selections to refine the media display. 01:11: Browse through the media to find one that best suits your needs. 01:15: Click add on the media. You would like to use 01:18: Once you have found your media, continue with filling out the rest of the slide details and 01:22: click add. 01:24: Your slide will then appear on your TV with your selected background. 01:28: In this guide, you explored the various steps necessary to integrate media 01:32: files into your projects.


